Guide on How To Connect a Wireless Extender To a Router
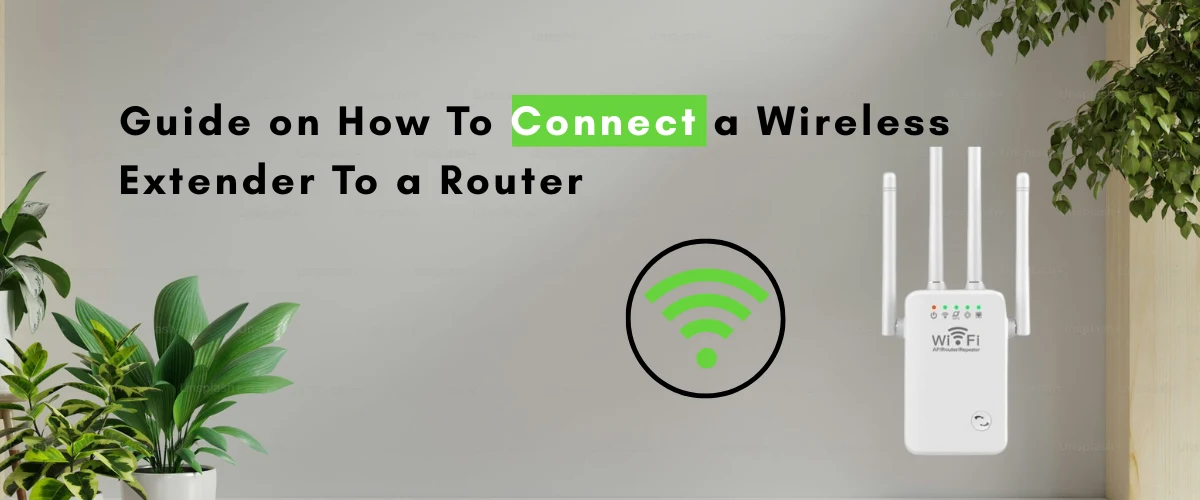
Do you have trouble getting strong Wi-Fi signals in some areas of your house or place of business? In bigger homes or zones with thick walls, dead zones and network dropouts are common issues. Fortunately, by increasing the range of your current Wi-Fi network, a wireless router extender can assist in resolving these issues. We’ll go over everything you need to know about setting up a wireless range extender in this in-depth tutorial so you can have a dependable and seamless internet experience.
A wireless range extender setup: what is it?
Your current Wi-Fi signal may be amplified and rebroadcast by a wireless router extender, sometimes referred to as a WiFi range extender or router range extender. With the use of this technology, your wireless network may reach places with spotty or nonexistent signals.
Consider it an intermediary between your devices and your main router. It increases coverage and decreases latency or lost connections by receiving the signal from the router and re-emitting it. A range extender makes sure you’re constantly connected, whether you’re using it to stream films in your garden or participate in Zoom meetings from your attic.
Getting Ready for Wireless Range Extender Setup
A few prerequisites must be met before beginning the Belkin wireless range extender setup process:
- A functional wireless network
- The network name (SSID) and password for your router
- A wireless router extender that complies with the requirements of your router
- A gadget for setup, such as a laptop, tablet, or smartphone
Above all, install your router range extender in a strategic position, preferably midway between your router and the signal-poor region.
Detailed Instructions for Linking a Wireless Extender to a Router
- Connect your wireless extender
The first step is to plug your Wi-Fi extender into a power outlet adjacent to your router. This guarantees a strong signal throughout the initial setup phase. Wait for the extender’s power LED to solidify, signifying that it is prepared for setup.
- Establish a Network Connection with the Extender
Locate the extender’s default SSID in the Wi-Fi settings on your computer or smartphone. Depending on the manufacturer, this will frequently look like “Belkin.setup” or “NETGEAR_EXT.” Choose the network and establish a connection.
This step is crucial if you’re using a Belkin wireless router extender since it opens the Belkin Login setup procedure.
- Go to the Configuration Page
Open a web browser after linking to the extender network, then pass in the extender default IP address, which is often 192.168.206.1 or, for Belkin devices, just http://belkin.range/. This will direct you to the Belkin Login page (or the setup site for the corresponding brand).
Here, you can be asked to set up an administrator password or use the default login information, which is often found on the extender or in the device manual.
- Select Your Wireless Network
The extender will check for available networks after logging in. From the list, pick your primary Wi-Fi network, which is your router’s SSID. After that, a pop-up to enter your Wi-Fi password will appear.
The extender will check for available networks after logging in. From the list, pick your primary Wi-Fi network, which is your router’s SSID. After that, a pop-up to enter your Wi-Fi password will appear.
Verify the password and SSID again; if you input the wrong information, the extender won’t be able to connect to your router.
- Adjust and Verify Configurations
It could be possible for you to change the name of the extended network or maintain the same SSID as your primary router. Although renaming can help you identify which network you’re connected to, maintaining the same SSID makes it easier for devices to transition between the router and extender without interruption.
The extender will reboot and implement the adjustments after verifying your settings.
- Move the Extender Around
After the setup is finished, unhook the extender and relocate it to a more central spot, preferably midway between your router and the signal-poor region. After plugging it in, watch for a strong connection to be shown by the LED indication (it may be green or white depending on the type).
For a stronger signal, you might need to relocate the extender closer to the router if the LED blinks quickly or goes red.
- Attach Your Electronic Devices
Connect your devices to the expanded network after you have finished configuring your wireless range extender. In formerly weak-signal locations, you should observe a notable boost in speed and connectivity.
Tips for Troubleshooting
Here are a few typical problems and their fixes:
- If the extender is not connecting to the router, verify your Wi-Fi password again. Restart your extender and router.
- No internet on the expanded network: Authenticate that the extender is receiving a strong signal and is in range of the router.
- The Belkin login page is not accessible: Make sure you are using the network of the extender rather than your primary Wi-Fi.
Advanced Features You Must Understand
Numerous wireless router extenders include cutting-edge features like:
- Support for dual bands: Establish connections with 2.4GHz and 5GHz networks.
- WPS: One-touch connections without a password are possible using WPS (Wi-Fi Protected Setup).
- Ethernet ports: Used to connect game consoles or smart TVs via cable.
Additionally, some versions come with smartphone applications that make firmware upgrades, performance monitoring, and wifi range extender setup simpler.
Concluding remarks
One easy and efficient way to address inadequate Wi-Fi coverage is to use a wireless router extender. You can get rid of dead zones and have an uninterrupted internet connection across your house or place of business with the right wireless range extender configuration. The setup procedure is simple and easy to use, regardless of whether you choose a Belkin device or one from another reliable manufacturer.
FAQs
- What distinguishes a Wi-Fi repeater from a wireless router extender?
The purpose of a Wi-Fi repeater and a wireless router extender is the same: to increase network range. However, repeaters just rebroadcast the signal, which frequently results in lesser bandwidth and slower speeds in larger regions, whereas extenders typically offer superior performance and enable both wired and wireless connections.
- For optimal signal strength, where should I position my wireless router extender?
The best position is midway between the deprived signal area and your router. To prevent signal interference, keep it away from metal objects, thick walls, and electronic gadgets. Wider coverage and optimum performance across your house or place of business are guaranteed by proper installation.
- During setup, why am I unable to access the Belkin Login page?
Authenticate that your device is associated with the “Belkin.setup” Wi-Fi network, which is the default network for the extender. Next, type http://belkin.range/ or your browser’s default IP address. Try restarting the extender or using a different device if the website still won’t load.
- Is it possible to utilize more than one wireless router extender on the same network?
Indeed, using numerous extenders to cover a wider region is possible, but careful placement is required to prevent signal overlap. It is not advised to chain extenders or link one to another since this might result in delay and signal loss. Every extender should always be connected straight to the primary router.
- Do I need to adjust any router settings to set up my extender?
In most cases, the router itself doesn’t require any modifications. Plug-and-play is the norm for wireless range extender configurations. You could, however, require your router’s SSID and password for more complex setups. For a successful connection, confirm that your router is compatible with the 2.4GHz and 5GHz frequency bands used by the extender.